If you haven’t already, remove GiggleBot from the box it arrived in.
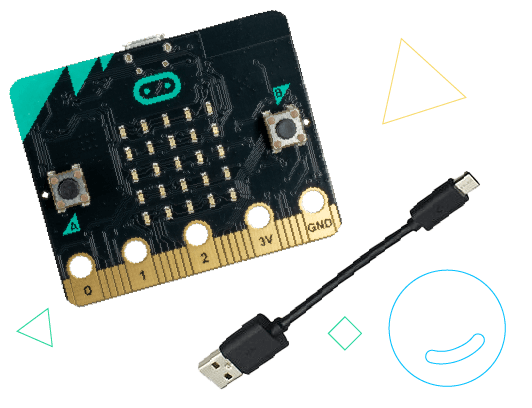
02: Unpack your micro:bit and Micro-USB cable
To get started you only need the micro:bit and Micro-USB cable you can leave the other components in the bag for now.
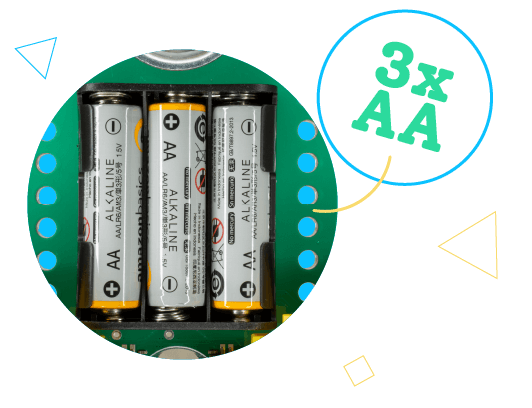
03: Insert three AA batteries
Place 3 AA batteries into the black battery holder on the bottom of your GiggleBot.
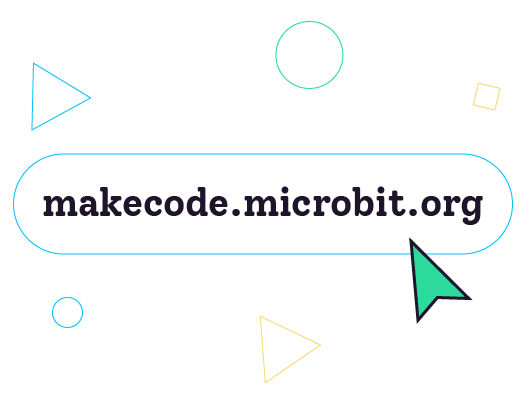
04: Next, let's make a program in MakeCode
MakeCode is a learn-to-code programming environment from Microsoft. You can access it from your web browser.
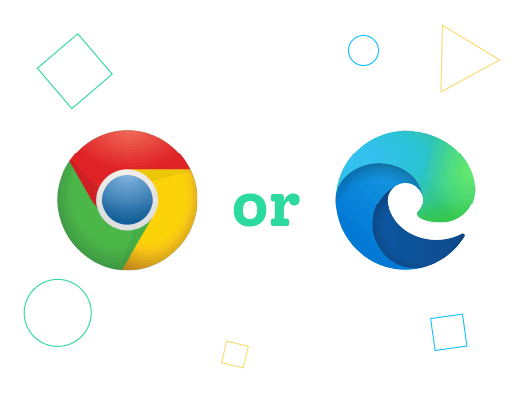
05: You will need either Google Chrome or Microsoft Edge to use MakeCode
MakeCode uses a technology called web-USB to transfer programs to your micro:bit. Google Chrome or Microsoft Edge browsers have this technology built-in.
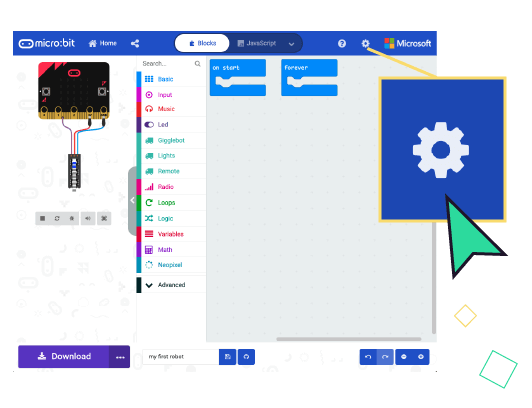
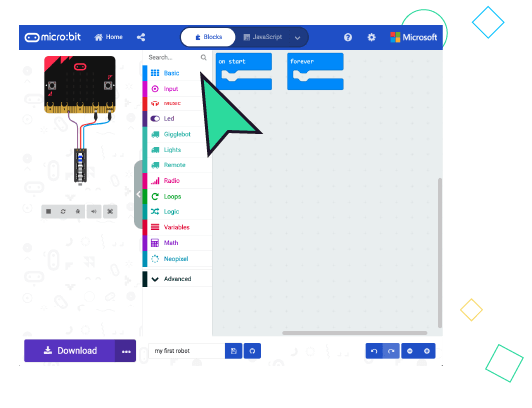
Click on the little “Gear” icon in the upper right corner.
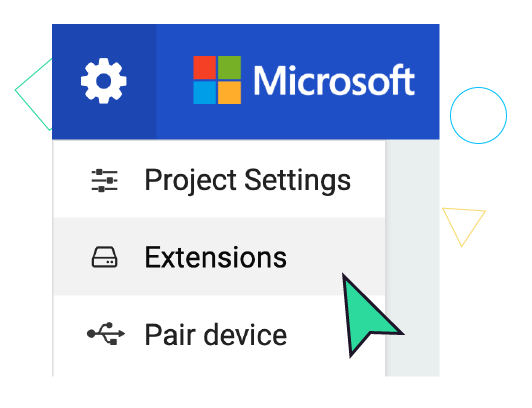
10: Select "Extensions"
Pick the “Extensions” option from the menu. This loads a special set of blocks for MakeCode.
11: Search "Giggle"
Use the search bar in Extensions to look for “Giggle”
12: Select "Giggle"
Select the “Giggle” option that looks like this. Don’t worry about the other option for now. It’s for very specific use-cases.
13: Next, let's make a simple program
Time to build a program using drag-and-drop code blocks.
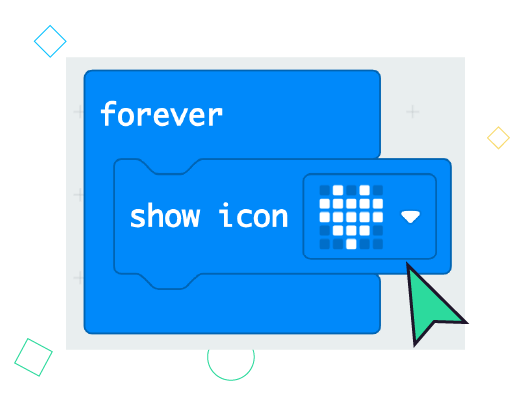
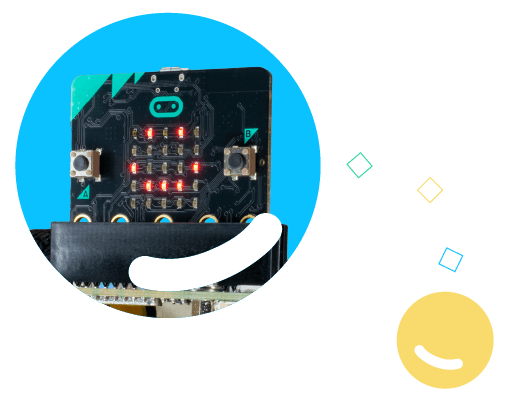
14: Some blocks are code for the micro:bit
Different MakeCode blocks do different things. Some represent code designed to change your micro:bit. This one changes the LEDs on the front of your micro:bit
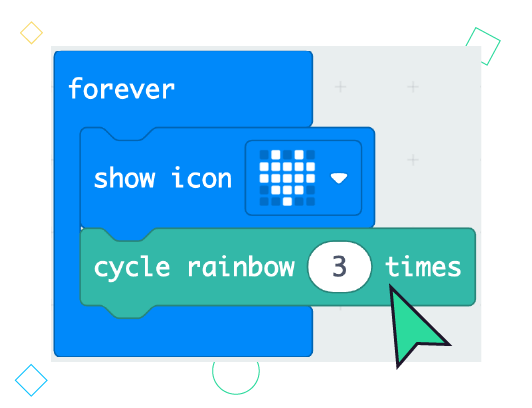
15: Some blocks are code for the GiggleBot
The “Giggle” extension added a few more blocks to help you control your GiggleBot. This block changes the LED “smile” near the back of your GiggleBot.
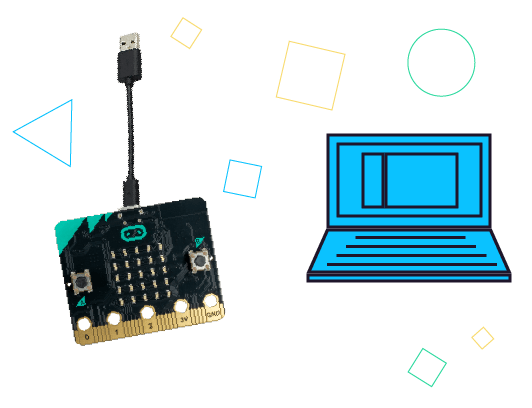
16: Connect your micro:bit to your computer using the Micro-USB cable.
Now that you’ve completed your program, you’re ready to transfer it to your micro:bit. Plug the little end of the Micro-USB cable into the port at the top of your micro:bit.
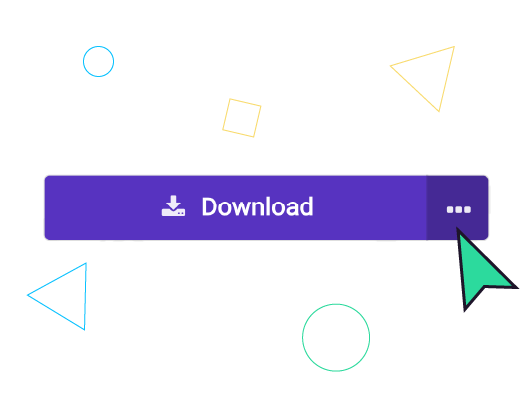
17: Click on the "3-dots" next to the "Download" button
Before you can transfer you will need to pair with your micro:bit. Click on the little icon that looks like three dots in a row.
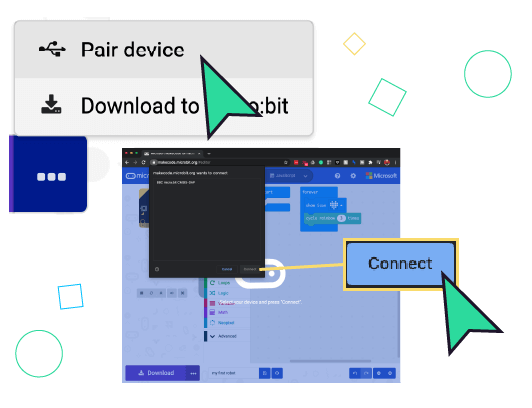
18: Pick "Pair device" then "Connect"
In the pop-up menu click on “Pair Device.” Make sure your micro:bit is selected in the next window, then click “Connect.”
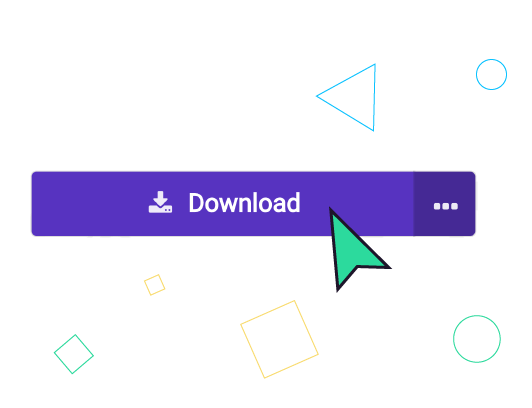
19: Click "Download"
Now that you’re paired, click “Download” to transfer the program to your micro:bit. Congratulations! You’ve just programmed your GiggleBot robot in MakeCode.
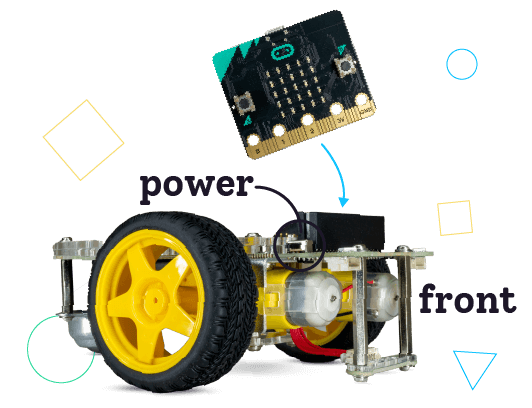
20: Connect your GiggleBot and micro:bit
Eject the micro:bit from your computer and connect it to your GiggleBot. The buttons on the front of the micro:bit should face the front of your GiggleBot. When ready use the black power switch to start your robot.
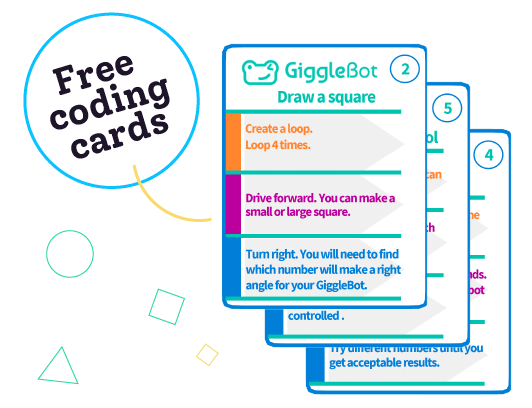
21: Continue growing with the free coding cards or try some projects.
Ready to learn more about your GiggleBot? Download the free coding cards to build new skills through play.